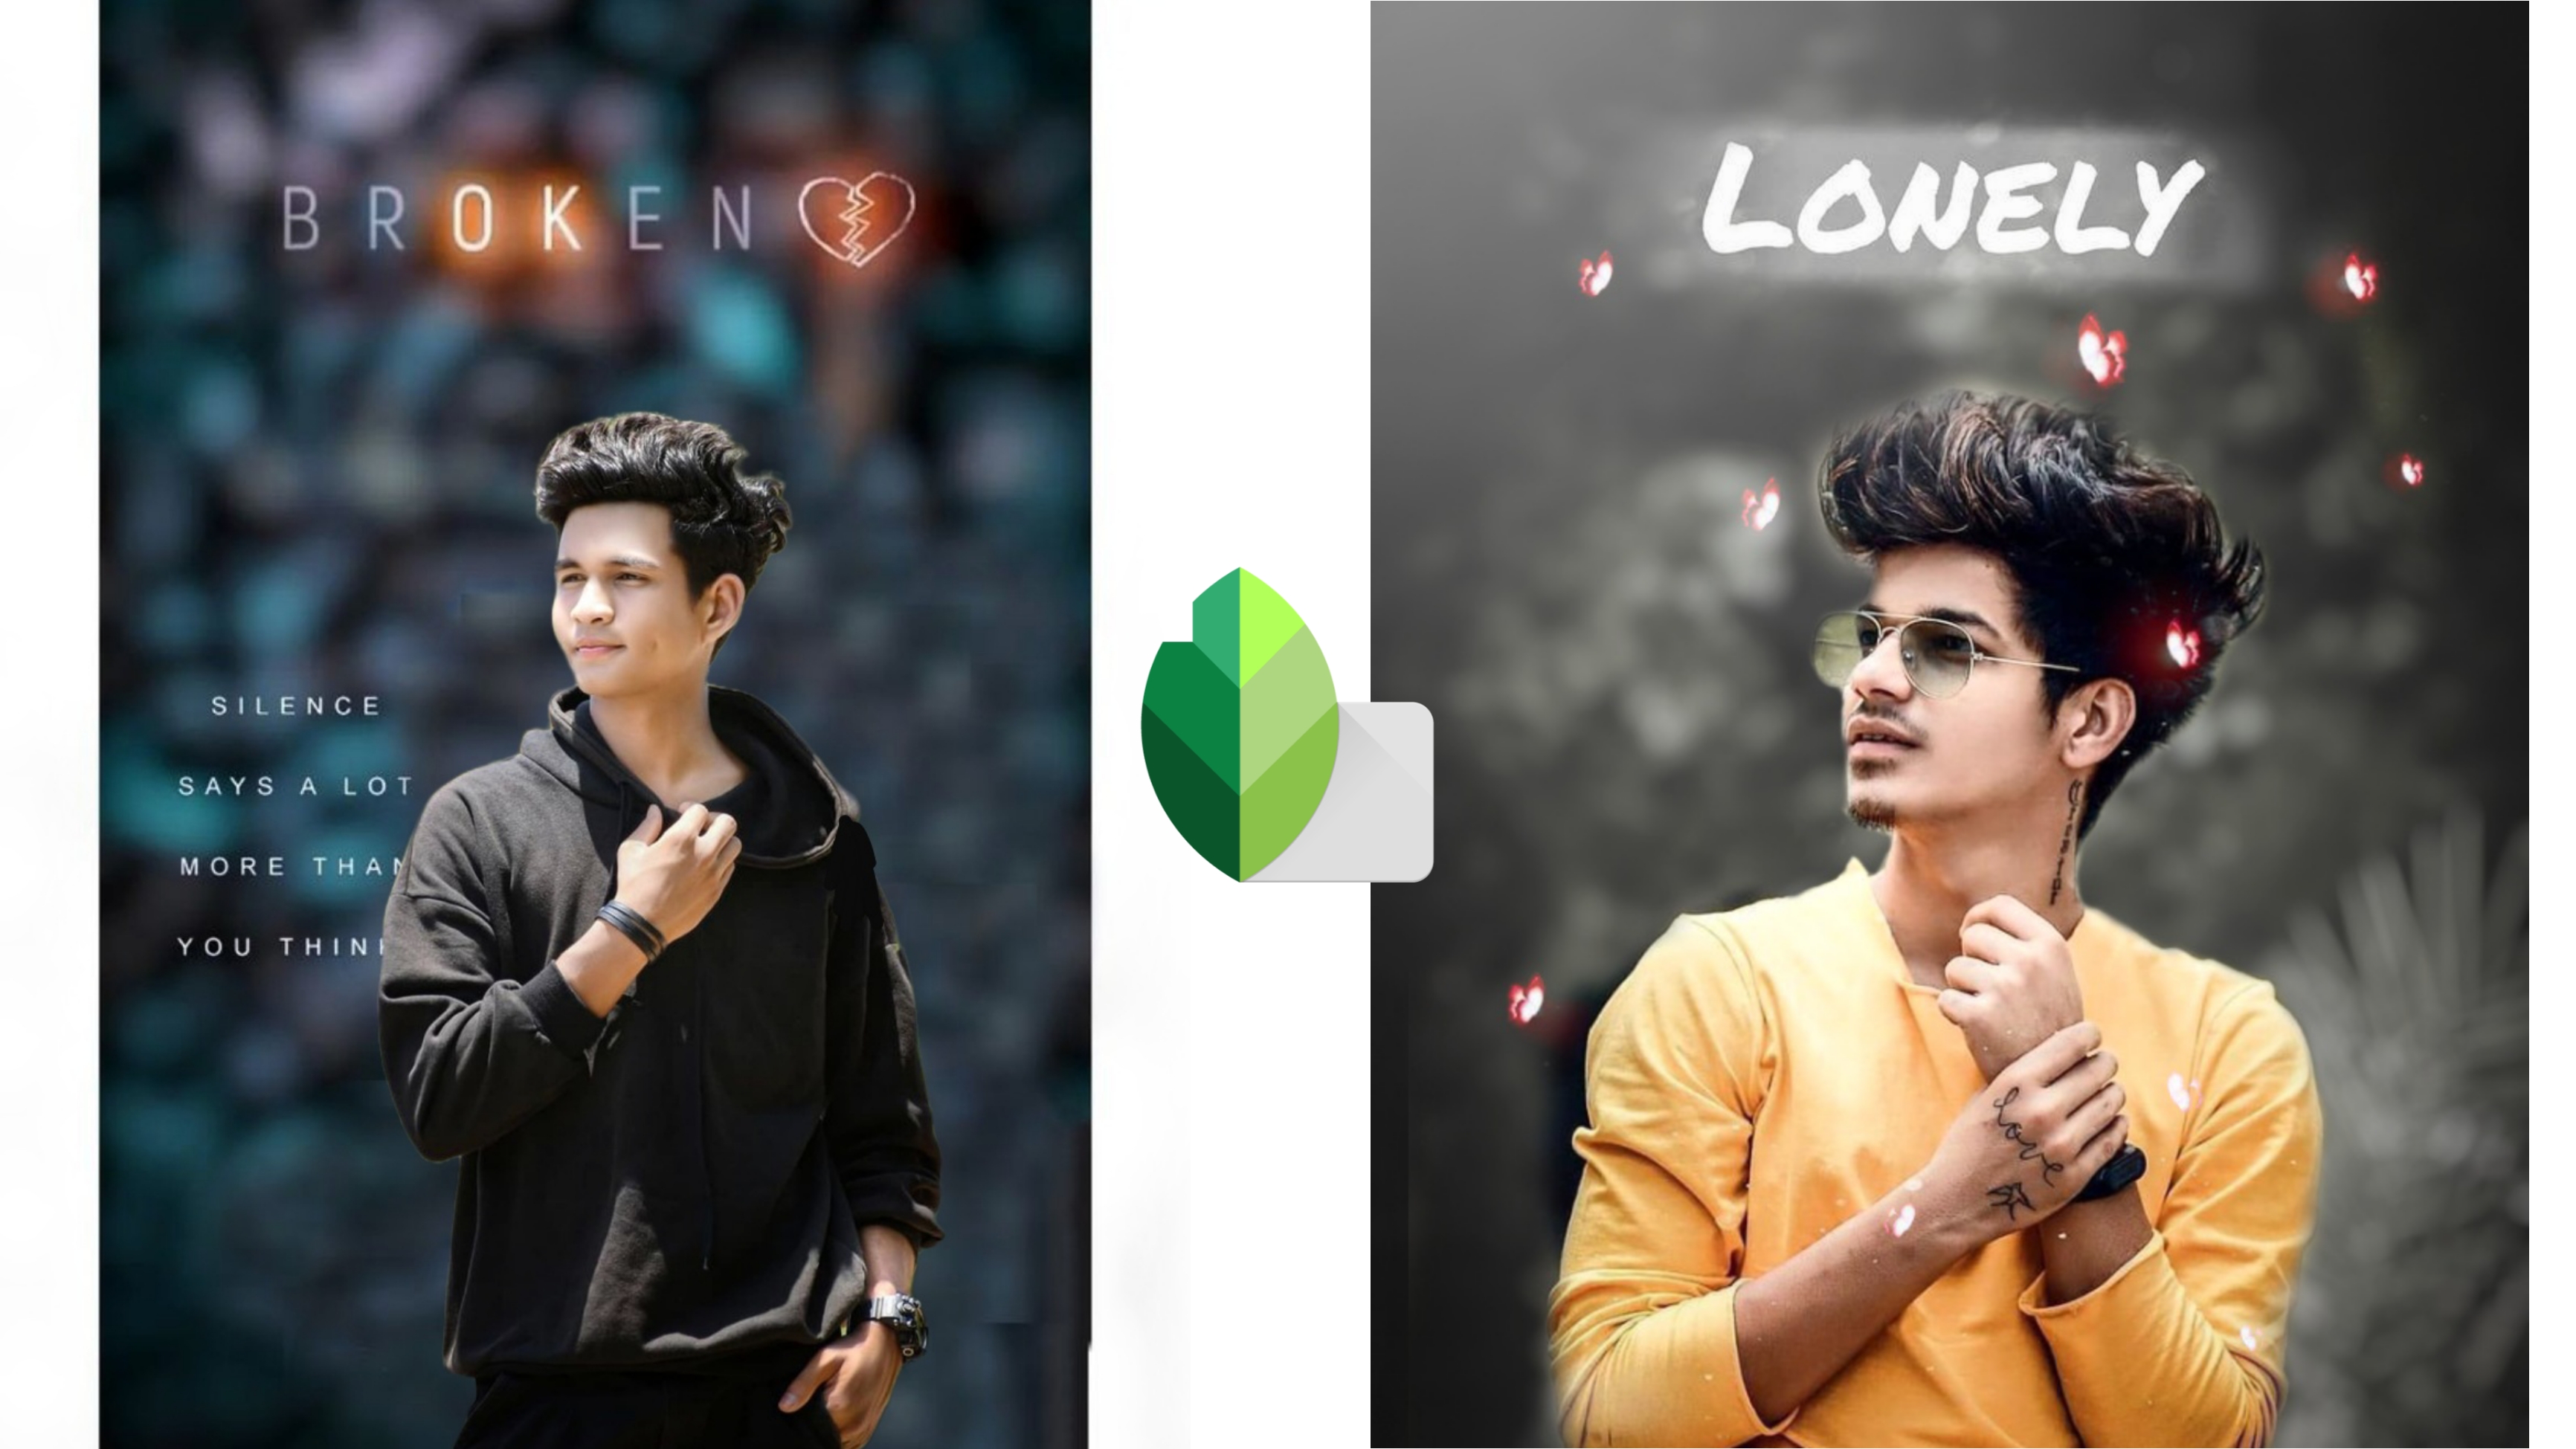
Instagram Viral Snapseed Photo Editing Hello friends welcome to our new video Snapseed Creative Flowers Photo Editing Today we are going to teach you how to edit creative instagram like trending in Snapseed app. So today we will show you how to black flower background.
You can edit this type of photo in just a few moments by watching this tutorial. If you haven't seen this video yet, go and watch it. And if you like the video, don't forget to like and subscribe to our channel. And tell us exactly what topic you want in the next video by commenting. So the most important thing you need to do to make this kind of photo is to install in mobile Snapseed application available in Google Play Store . So friends, after installing this app, I will briefly tell you the next process.

First of all you have to open your Snapseed APP, you have to go to edit photo. So first of all you have to select your photo from your gallery by clicking on plus. Now after clicking on this tool, you will get to see many options.
Step 1
Now we have to click on tune image. From here you can adjust the brightness, contrast. when you If you increase the saturation then you will get to see glow in your photo. The highlights from you photo You can reduce the extra lights. The few lights in your photo are the shadows from you, the less you are You can do more Warmth can lower your temperature. by raising the temperature You will see orange tone in your photo. And by reducing the temperature, blue tone will be seen. Now you have to come back by clicking on done.
Step 2
Now we have to click on the curves. Now by going to the inco of this color, we have to click on the red color. When you lower the curve of red color, you will get to see blue color in the photo. when you color blue After lowering the curve of the photo, pink color will be seen in the photo. When you lower the curve of green color After this photo I will see pink color. In the photo after you lower the curve of blue color Yellow color will be seen. When you click on style, you get to see many color effects. You can choose anything from here. Now you have to come back by clicking on done.

Step 3
If you want to put black tone in the photo then you have to click on vintages. Now here we will get to see 12effects. So for this we have to create black tone. You have to select the color effects of 06 no. Now by clicking on the inco of adjust us. From here you have to reduce the brightness and make the saturation complete -100. And set the style strength and vignette strength according to your photo. Now we have to come back by clicking on done.
Step 4
Now our photo is looking completely dark. For this, we have to go to the edit stack and click on view edits. Now the layer of effect has to be selected. Now by clicking on the middle option, we have to create a selection of background. You can reduce the opacity of the brush with the arrow.
Step 5
If you want to add stylesh text to your photo, then you have to go to tools and select text option. Here we will get to see different types of fonts. You have to select any one font. Now we have to type the text by double tapping on that text. That text has to be set according to you. You can reduce the opacity of the text from here by clicking on opacity. And you can also select a color of your choice by clicking on the color.

Step 6
So friends when you want to change the background of your photo. Or to add black screen effect to your photo, you have to first click on double exposure. Now we have to select our background from the gallery by doing it on the open image. After adding the image, now you have to increase the opacity of the background by clicking on the option of opacity. Then we have to click on done and click on back. Now go to this edits stack and click on review edits. Now after the layers are open, by clicking on the layer of that double exposure, you will click on the stack brush. By clicking on Invert, the background selection has to be created on the photo. You can increase or decrease the opacity by clicking on the arrow. You can also add black screen image in this way by going to layers and selecting the layer of double exposure, we have to select it to lighten by clicking on this style option.
Step 7
If friends, if you want to blur the background of your photo, then for this we go to tools and click on lens blur. You can select blur radius circle or square by clicking on the frist option here. Then click on the icno of its abjestment. Now its blur strength is to be kept around 75-85. Its transition has to be made 0 and its vignette strength is to be kept around 25. Then this blue doat has to be adjusted in the side. We go here in the styles and here we will get to see many styles.

Step 8
If friends you want to brighten your face then you should use the selective tool. For this, you have to go to tools and click on the option of seletive. Now by clicking on the plus inco, you have to abjest a circle on your face, now from here you have to increase the brightness, by reducing the contrast a little, you have to reduce the saturation as well. And the structure has to be increased a bit. If you want to brighten something else, then we have to copy it by pressing on the circle. And paste it where you want to make a circle.
Your Queries
- Snapseed Creative Photo Editing
- Instagram viral Photo Editing snapseed
- Snapseed Photo Editing Kaise Kare
- Snapseed Photo Editing Background Change,
- Snapseed Flower Editing Background Blur,
- Snapseed Photo Editing New
- Snapseed Butterfly Editing
- Snapseed Butterfly Photo Editing
- Blue Tone Editing,
- Snapseed Blue Tone Editing
- Snapseed Tutorial,
- Snapseed Tutorial In Hindi,
- Snapseed Tutorial Editing,
- Snapseed Tutorial Photo Editing
- Snapseed Tutorial Double Exposure